🦷How To Use A Waterpik For Best Results
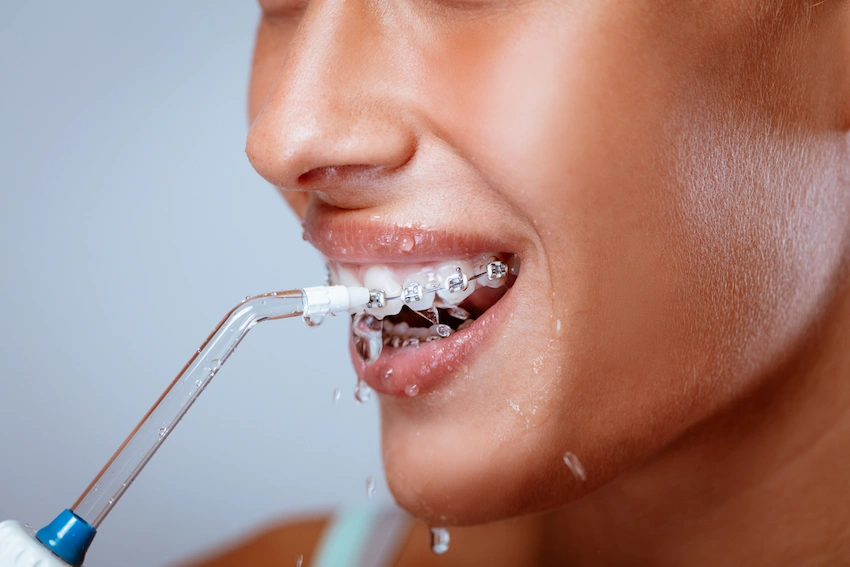
If you want to maximize your Waterpik device, you should direct water at a 90-degree angle, choose warm water, and select a low-level pressure setting. Remember, the entire area must be treated to achieve a deep clean every time. Whatever you do, nothing seems to be more effective than the traditional flossing method, does it? Experience the magic of a Waterpik, the easiest way to make your mouth free of bacteria awaits you! More than being just a complimentary tool, this expansion of your daily cleansing ritual is a sign of a very pure, fresh, and bracing oral environment. Feel the effects of such whitening and power treatment to have teeth that glow!
Choosing the Right Waterpik Model
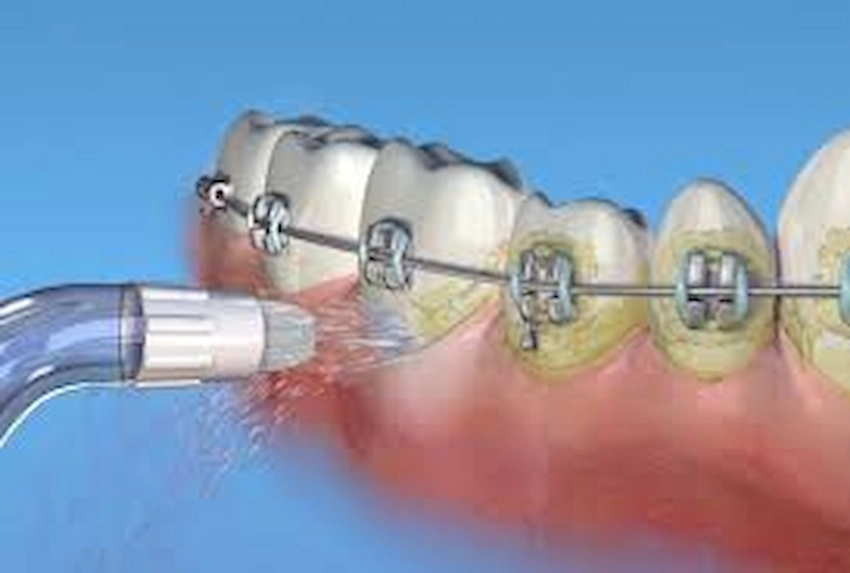
Certainly, the selection of the proper Waterpik model is important if we are to have a satisfactory oral health condition. First, identify your concerns and needs. Those who have braces should get a machine that is used with orthodontic care and has its own devices. On the other hand, people with gum problems should get a machine with different levels of pressure that can be regulated to have the gentlest feeling. Most notably, look for convenience; it can greatly reduce your task of a daily routine if your machine has a design that is lightweight and also has controls that are straightforward. Furthermore, you need a machine whose tank size and water capacity are the right fit for you without causing any inconvenience due to the necessity of always refilling it. In conclusion, do thorough research, go through the user reviews, and then go for those that might suit your dental and lifestyle needs.
Setting Up Your Waterpik Correctly
Setting up your Waterpik correctly is the basis of effective usage. In the next few paragraphs, you will find all you need to do to initiate the Waterpik.
- Choose the Right Location: First, you need to determine a place for your Waterpik that would be near your sink, where you could have convenient access to it while using it.
- Fill the Reservoir: Take off the water reservoir, pour warm water into it, and then insert it back into the unit to ensure it is well attached.
- Select a Tip: You can now choose the tip that best addresses your oral-care concerns. Verify that it is fitting tightly into the handle.
- Adjust Settings: Determine how much pressure you will be using. As a beginner, start with a small amount and then slowly increase the pressure.
- Position Yourself: To not make a mess of the water, put your head over the sink. Take the handle with one hand and bring the tip to your mouth.
Acquiring such a procedure, the user shows not only the effective results but also enjoys the process, assuring the dental health in general as well.
Water Pressure Adjustment
Being able to prepare your Waterpik for the best service, adjusting the water pressure is one of the most critical factors, as it depends on your level of comfort and dental requirements. Opting for less pressure can assist you in making the process of adapting easier, when using a Waterpik is novel to you. Step by step, raise the pressure as you become more confident. I have prepared the following brief instructions to enable you to select the correct water pressure easily.
| Pressure Setting | Suitable For | Tips |
| Low | Sensitive gums or first-time users | Start with this setting to get used to the device. |
| Medium | Normal dental hygiene | This setting is ideal for everyday use. |
| High | For users with braces or periodontal issues | Use this for deeper cleaning, but ensure it’s comfortable. |
The Right Way to Use a Waterpik

When we talk about the efficient use of a Waterpik, we mean that cleaning between the teeth and under the gum line is are concern; therefore, a good user technique, most importantly, should be practiced. Through these steps, you will be able to get the most out of your Waterpik.


| Step | Description |
| Prepare Your Waterpik | ill the reservoir with warm water and select your desired pressure setting. |
| Position the Tip | Place the tip in your mouth before turning on the device to avoid splashing. |
| Start at the Back | Begin at the back of your mouth and work your way to the front, treating both the outer and inner surfaces of your teeth. |
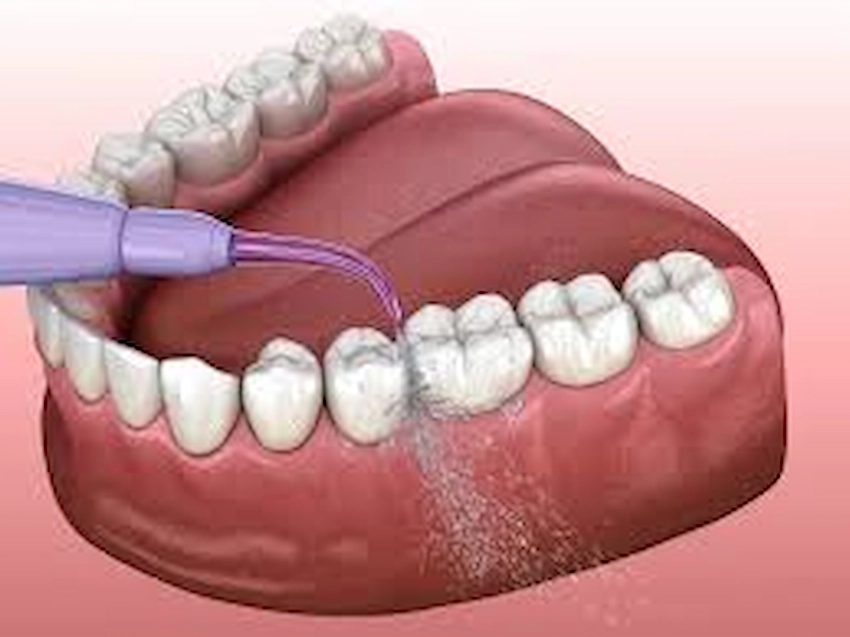
| Angle the Tip | Hold the tip at a 90-degree angle to your gum line for optimal cleaning. |
| Move Slowly | Guide the stream along the gum line and between each tooth, pausing briefly on each tooth. |
| Follow Up | Once finished, store the Waterpik properly and rinse your mouth. |
This structure provides clear guidance on how to adjust the water pressure and use a Waterpik effectively, ensuring readers can benefit from the information.
Targeting Specific Areas in Your Mouth
One of the key factors to have in mind when it comes to using a Waterpik the right way is that you need to find the areas in your mouth that work best for you. First of all, you need to position the tip at the gum line and put it at an angle of 90 degrees to the teeth. Once the Waterpik is on, you are supposed to take the tip along the gum line and through your teeth, so the water can clean your teeth, and the food particles and plaque can get out. Go the extra mile by being more attentive to the back molars and the areas around braces or the places where implants are fixed. Besides, regularly hitting these points in a targeted manner is the lifeblood of your oral hygiene regimen. Consequently, you save yourself the trouble of gum disease and cavities by a huge margin.
Waterpik Cleaning and Maintenance
It is very important to clean your Waterpik properly if you want it to work well and last long. Just do these easy steps, and your device will be like new for a long time:
- Every day washing: It is a good idea to fill up the tank with fresh water and let it pass through the tip for a few seconds, every time that you use it. If you do this, you will be able to remove any kind of food or toothpaste that may have been left inside the device.
- Separation every week: Once a week, you may get all the disposable parts of the water flosser, like the tip and reservoir, and then wash them with warm soapy water and thoroughly rinse before you can set it up again.
- Are you aware that you can be environmentally friendly even when cleaning your Waterpik? A combination of vinegar and water in equal amounts is perfect for cleaning the internal parts and tank of the system. This is how you can get rid of mineral buildup, and the direction of the water will not be hindered.
- Regular changing of the tip: When using your Waterpik daily, we suggest you change your tips every three to six months for the best performance.
These maintenance and cleaning tips are a guarantee of effective and durable service of your Waterpik.
FAQ: How To Use A Waterpik For Best Results
To set up your Waterpik, first fill the reservoir with lukewarm water. Choose your desired tip and attach it to the unit. Plug the device in, and ensure the pressure settings are adjusted to your comfort level, starting with a lower setting if you are a beginner.
To use a Waterpik effectively, aim the tip at the gum line at a 90-degree angle. Turn the device on and begin with the back teeth, moving along the gum line in a gentle motion. Close your lips slightly to prevent water from splashing, and allow the excess water to flow into the sink.
For optimal results, it is recommended to use your Waterpik at least once a day. Many people find it beneficial to use it in conjunction with their regular brushing and flossing routine, ideally at the end of their oral hygiene regimen.
Yes, you can use mouthwash in your Waterpik, but it is advisable to dilute it with water first. This can enhance the antibacterial effects and provide a fresh feeling, but always check the manufacturer’s guidelines to avoid damaging the unit.
If your Waterpik is not functioning correctly, first check to ensure it is plugged in and that the reservoir is filled. Inspect the tip for clogs and clean it if necessary. If problems persist, refer to the user manual or contact customer service for further assistance.